In Part 1 of this blog, we explained that Sharing is a
unique feature in Windows 8, and that it is a key differentiator from the
iPAD. Your app can declare that it is
able to share data, or receive shared data, or both. We introduced the DataTransferManager, which we will need to tell Windows that your
app wants to share data. We built a
simple XAML design surface with sample text to share. And we
implemented the DataRequested event
handler in the App.xaml code. Here in Part
2 we complete the rest of the code.
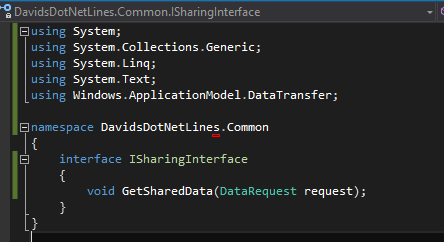
What we do now is dereference the page that is active. We do this using an interface, which we will
define as follows:
We will write the new GetCurrentPage
method as follows:

Now we create a page that implements the sharing interface. This will be the page that produces the data to share. The code in the page would look like below:

The only code we added were the using statement and the implementation of the GetSharedData method. We’ve
got all the code we need. Now when we
run this, we will see the following result:

Now we can bring up the charms
by hovering over the lower right corner of the screen.

When we click on the Share charm, we see a list on the right side like the one below.

This list simply identifies all of the Windows 8
applications that understand how to share the data type that you have declared.

When you select one of these applications, its corresponding dialog will appear. You will need to perform some action to complete the task of sharing the text data. If you chose the Mail application, you can expect something like the following in your mailbox.

And there you have it. We have built a Windows 8 application that is capable of sharing text data to other Windows 8 applications that understand how to share text data. We can use the very similar logic to share other data types, such as bitmaps and HTML files. The DataTransferManager is the key.
No comments:
Post a Comment